
Pete the Cat – No Carve Pumpkin Decorating
Pumpkin decorating instead of pumpkin carving is so much fun! It’s crafty, perfect for the little ones and they preserve the pumpkin to last a long time.
We choose a plastic pumpkin from Target and choose one of our children’s favorite story book characters; Pete the Cat!

One of our favorite Pete the Cat books is Pete at the Beach, I figured this had to be easy enough to recreate Pete with swim trunks. It was actually really easy!
I made a visit to Michael’s and picked up a few things.
- 1 sheet of yellow felt
- 1 sheet of white felt
- 1 sheet of black felt
- 1 package of pipe cleaners
- 1 package of chenille pipe cleaners
- 1 sheet of yellow foam
The cost of this pumpkin, including the plastic pumpkin from Target was $15.

I started with the chenille pipe cleaners to make the ears. I bent them in the shape of a triangle, used a hot glue gun to close the triangle and then cut out a triangle from the black felt to hot glue behind the ears. Once it was put together I hot glued each ear to the plastic pumpkin.

Pete’s eyes go almost completely across his face, so they had to be big. I used a post-it note and drew an eye leading from edge to edge. Place the post-it note onto the yellow felt and cut out the eye.
I did the same thing for the black and white pieces. Once all pieces were cut out, I hot glued them to the pumpkin in a layering effect.
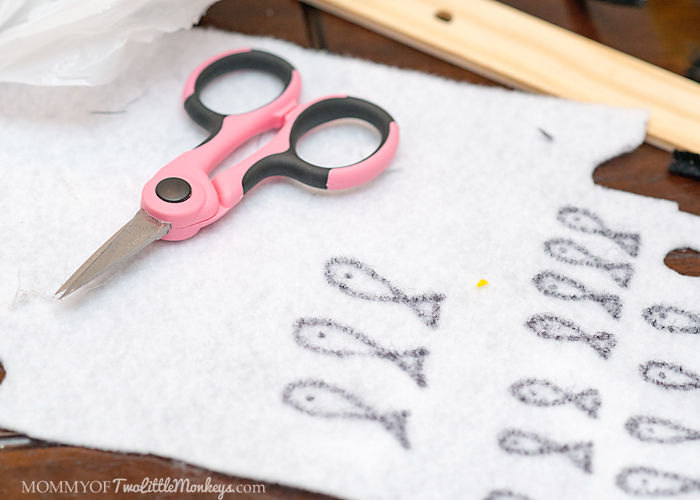
The shorts were super easy. I just cut a stripe of the yellow foam to cover the bottom of my pumpkin without over hanging too far. Then I took the white felt and a black sharpie to draw out the fish on his swim trunks. Using a sharp pair of crafting scissors, cut around the fish leaving the black outline visible. Then hot glue to the yellow foam.
The top of Pete’s swim trunks is a piece of white felt cut into a strip and then I tied a small piece of white ribbon to hot glue on the front.
I didn’t take pictures of the whiskers but we used an electric drill and drilled a small hole into the side of the pumpkin’s head. The pipe cleaners stuck right in, the inside is made of styrofoam so the pipe cleaners stuck good without any glue.
Voila! The kids are so excited!
What did you make with your pumpkins this year?

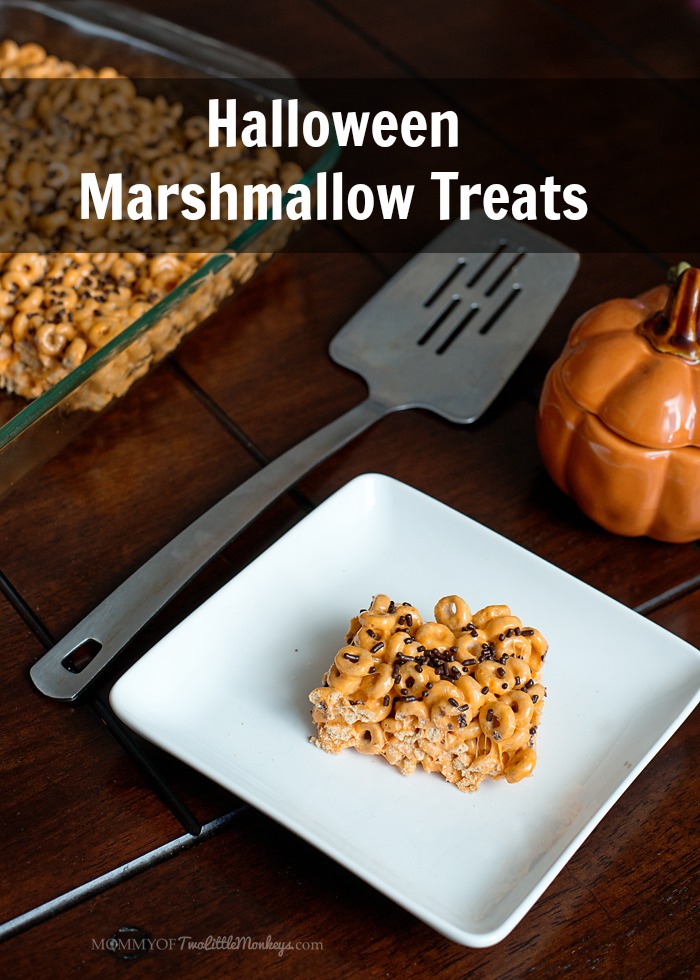
Looking for a yummy Halloween treat? Try these fun Halloween Marshmallow Treats!
We purchased this pumpkin already black at the craft store
Did you paint the pumpkin or buy it already black?
How did you get the pumpkin black? Did you buy it that way?
The pumpkin came out really cute. I like that the pumpkin can last a lot longer.
Such a cute way to create story telling and craft time together. Great pumpkin.
Awesome book and craft roject. So cute.
This is so creative. I love your pumpkin design–I would have never thought of doing something like this….cute!
Oh My Gosh —- This is so cute! So Cute! Made me smile the minute the post opened!
That’s so adorable! I love that you made a character out of a great book. So cute.
He turned out so cute! Looks so professional!
This has to be the cutest pumpkin craft I’ve seen all month. What a cute idea!
Now that is adorable! Spooky, Cute and Adorable! What a really great idea, I think this is just too good – Came out perfectly!
You’re going to get a whole month of display out of it too. The carved ones go bad so fast!
Awww, that came out really good. I love it.